Proven Shop Vacuum Testing: How Labs Measure Real CFM
By Diego Santana • 9th Nov
When you're standing in the aisle comparing shop vac specs, the term "CFM" appears everywhere, but few understand shop vacuum testing standards or know how shop vacs are tested to arrive at those numbers. As a dust-extraction specialist who's measured more port diameters than I've sanded cabinets, I can tell you this: the number on the box rarely reflects what you get on the job site. Let me demystify how engineers measure true CFM in controlled conditions and why your actual performance depends entirely on what connects that vacuum to your tool's port.
Understanding the CFM Measurement Landscape
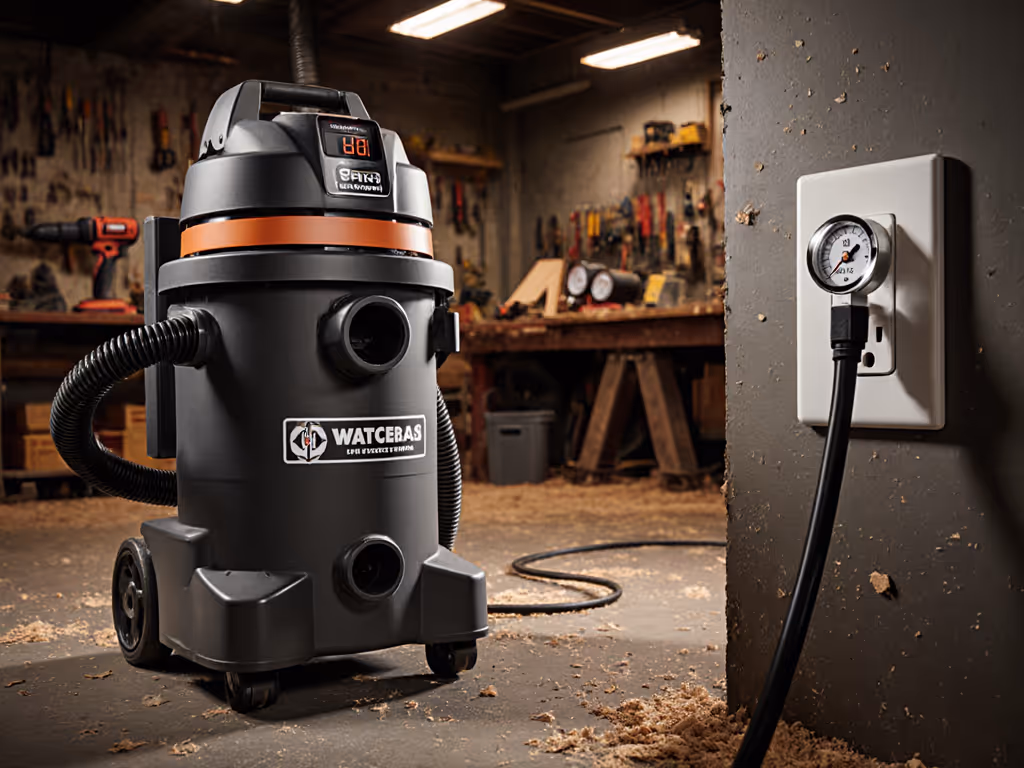
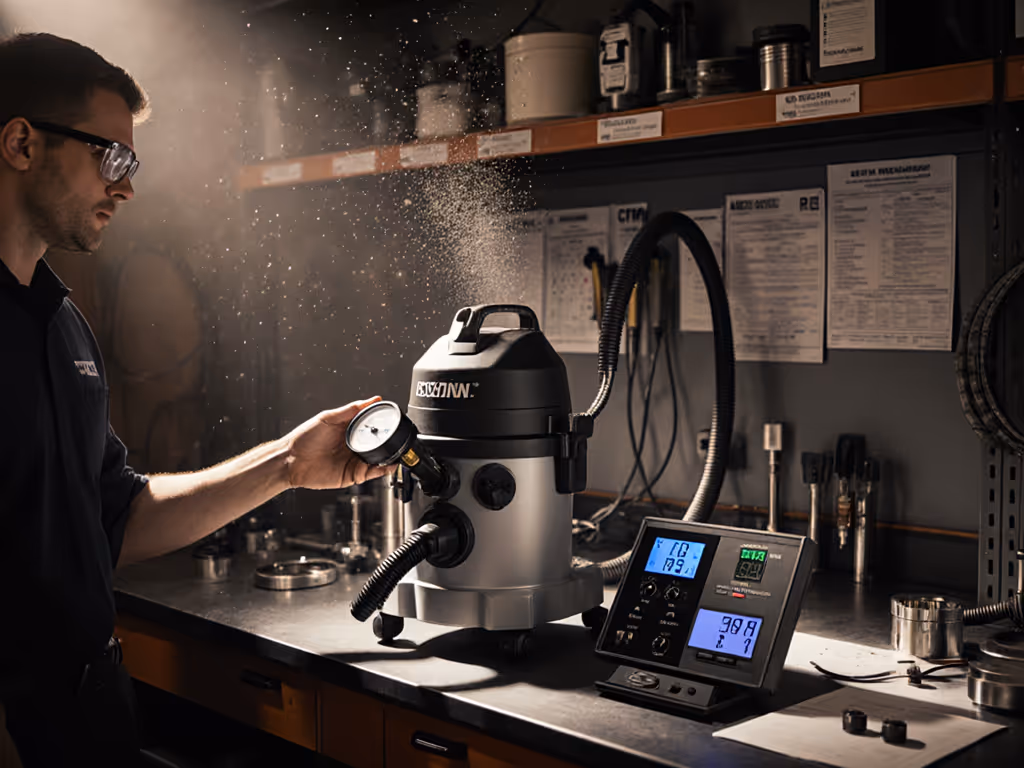
CFM (Cubic Feet per Minute) represents airflow volume, not suction strength. In lab settings, reputable manufacturers follow ASTM F558-19 standards, which specify measuring airflow at the hose inlet under defined conditions. This isn't some arbitrary number pulled from marketing thin air. Labs use a calibrated flow meter or hot wire anemometer placed directly at the vacuum port to capture airflow without interference from hoses or adapters.
The process is deceptively simple: a technician attaches the meter to the vacuum's intake port, powers on the unit, and measures the volume of air moved per minute. But crucially, this measurement happens under "free air" conditions (meaning no restriction at the intake). This is where the disconnect begins between lab numbers and real-world performance.
Adapters are plan A, not plan B. Every connection point degrades your system's CFM, regardless of what the box claims.
How Testing Translates to Real-World Vacuum Performance
In the controlled environment of a test lab, vacuums achieve maximum CFM because they're measuring airflow without any resistance. But job sites introduce variables that dramatically affect performance:
- Hose diameter limitations: That standard 1-7/8" port on your Festool sander will choke a 2-1/2" shop vac hose unless you have the right reducer
- Adapter chain length: Each adapter joint creates turbulence and airflow restriction
- Hose kinking: Even with "anti-kink" technology, flex hoses lose effectiveness at sharp angles
- Filter loading: A clean filter versus a dust-clogged one can reduce CFM by 30% or more
I learned this the hard way after inheriting four vacs and a drawer of random adapters (none of which fit our sanders properly). Only when I grabbed calipers and mapped every port (27 mm, 36 mm, 1-7/8 in, 2-1/2 in) did I understand why our "130 CFM" vacuum performed like a 70 CFM unit. We standardized hoses, labeled reducers, and hung a fitment board. Cleanup time halved, and clog complaints vanished. For hose sizing physics and real-world loss charts, see how hose length and diameter affect suction.
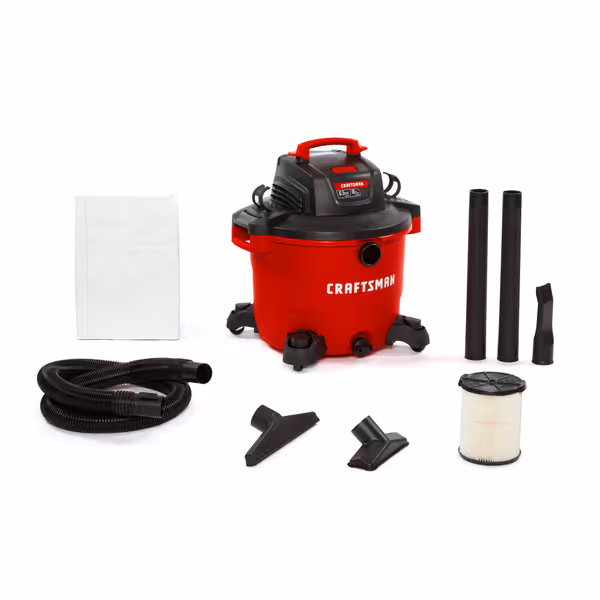
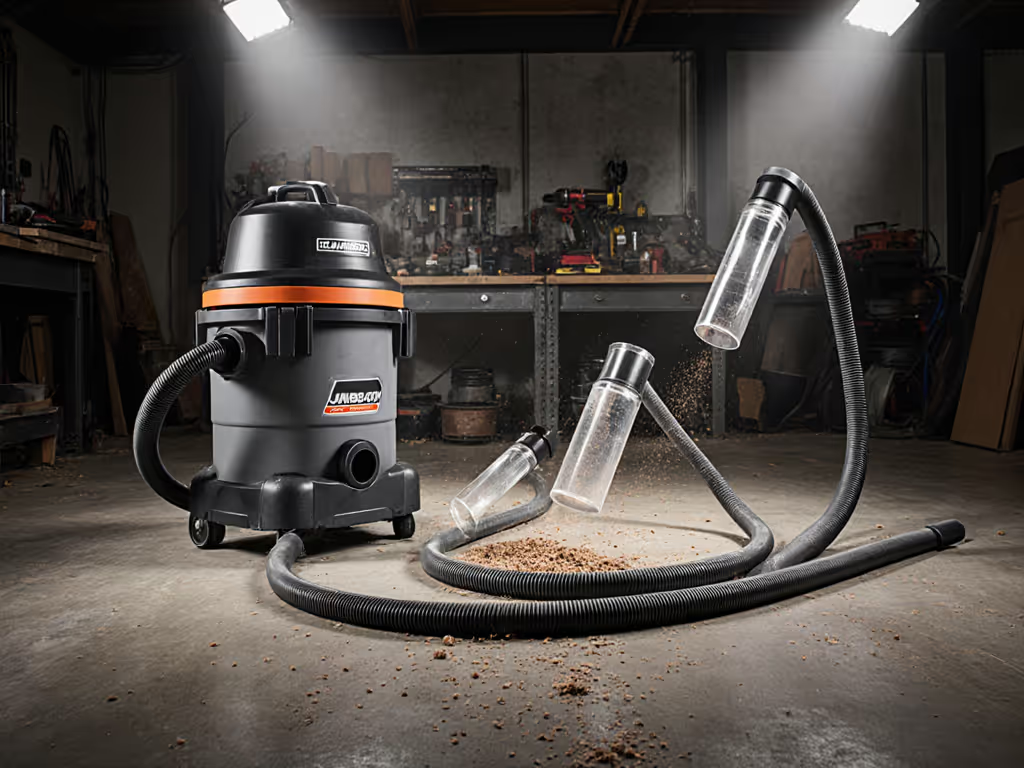
CRAFTSMAN CMXEVBE17595 16 Gallon Wet/Dry Vac
Powerful, large-capacity wet/dry vac for heavy-duty garage and jobsite messes.
$139.99
Peak Horsepower6.5 HP
Peak Horsepower6.5 HP
Pros
Incredible suction handles large debris and liquids easily.
Oversized drain and blower port for convenience.
Durable 2-1/2 in. Dual-Flex hose resists kinking.
Cons
Bulky size can be difficult to maneuver in tight spaces.
Mixed durability feedback; some report parts coming apart.
Customers find this shop vacuum to be of excellent quality, with incredible suction and more than enough power for multiple uses. It effectively collects dust and debris, and customers consider it well worth the price. The size receives mixed feedback - while some appreciate its large capacity, others find it too big to maneuver. Durability is also mixed, with some customers feeling it will last forever while others report it coming apart during use.
Customers find this shop vacuum to be of excellent quality, with incredible suction and more than enough power for multiple uses. It effectively collects dust and debris, and customers consider it well worth the price. The size receives mixed feedback - while some appreciate its large capacity, others find it too big to maneuver. Durability is also mixed, with some customers feeling it will last forever while others report it coming apart during use.
Beyond CFM: Water Lift Testing Standards and Why They Matter
CFM alone tells only half the story. Proper vacuum evaluation requires understanding how CFM relates to water lift (measured in inches of water) and air watts:
- Water lift: Measures suction strength by how high a vacuum can lift a column of water
- Air watts: The calculated product of CFM × water lift ÷ 8.5
In standardized testing, engineers measure water lift using a manometer attached directly to the vacuum port. This reveals the unit's ability to overcome resistance, which is critical when dealing with fine dust or long hose runs. Without adequate water lift, high CFM becomes meaningless because the vacuum can't maintain airflow through restrictive systems.
When shopping for a vacuum, look for both metrics together. A unit with 110 CFM and 80" water lift will outperform one with 130 CFM but only 60" water lift when pushing air through your actual job-site setup. The perfect balance depends on your primary use case:
- Fine dust collection: Prioritize water lift (70"+)
- Large debris/chip collection: Prioritize CFM (100+ CFM)
- Wet pickup: Requires both high CFM and sufficient water lift
Making Testing Methodology Work for Your Workflow
Here's the truth no spec sheet tells you: your vacuum's performance depends entirely on what connects it to your tool. That's why I maintain a living fitment library documenting 27/32/36 mm and common shop sizes with exact measurements and part numbers. My mantra, repeated after countless site visits where vacs underperformed, remains simple: Measure ports, map adapters, then nothing surprises on-site.
Consider this real-world example: A contractor recently called frustrated that his "120 CFM" vacuum couldn't handle concrete dust from his grinder. For concrete and masonry work, review our OSHA-compliant silica dust vacuum guide to configure a safe, effective setup. The unit tested at 118 CFM in our shop using a direct 2-1/2" port connection. But on-site, he was using:
- 10' of 1-1/4" flex hose (instead of 1-7/8")
- Three different adapters to connect to his grinder's 36 mm port
- A partially clogged standard filter instead of a HEPA cartridge
The actual CFM at the tool port? A dismal 62 CFM, which is less than half the vacuum's capability. After we swapped to a direct-fit 36 mm hose with proper anti-static path and single-stage adapter, his effective CFM jumped to 98. Same vacuum. Completely different performance.
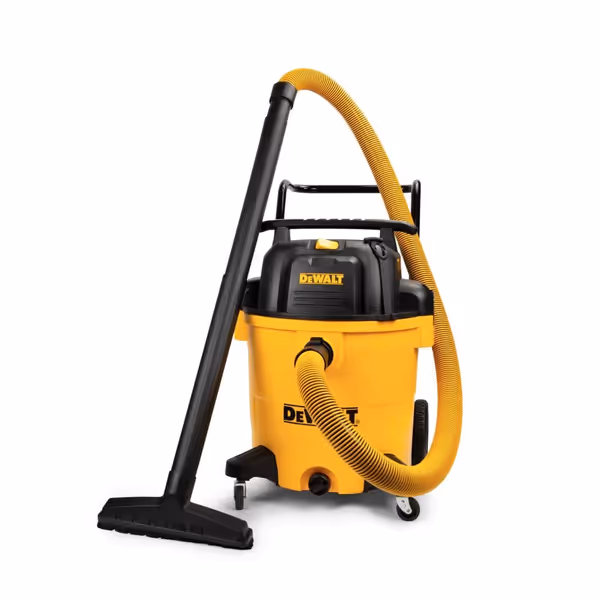
DEWALT DXV16PA 16-Gallon Wet/Dry Vac
Powerful, quiet, versatile vac for tough jobsite and workshop cleanup.
$215.99
Peak Horsepower6.5 HP
Peak Horsepower6.5 HP
Pros
Powerful 6.5 HP motor tackles heavy-duty debris and spills.
Integrated muffler for significantly quieter operation.
20-ft cord with wrap and swivel casters for easy maneuverability.
Cons
Large 16-gallon size may be bulky for small spaces.
Specific adapter sizes may require additional purchases for full compatibility.
Customers find this vacuum cleaner to be well-built, with one noting it's designed for contractors and professionals, and appreciate its powerful 6.5 peak horsepower. They praise its suction capabilities, with one customer mentioning it handles everything from sawdust to spilled water, and its maneuverability, with one review highlighting its 360-degree swivel capability. Customers also appreciate its quiet operation and solid performance.
Customers find this vacuum cleaner to be well-built, with one noting it's designed for contractors and professionals, and appreciate its powerful 6.5 peak horsepower. They praise its suction capabilities, with one customer mentioning it handles everything from sawdust to spilled water, and its maneuverability, with one review highlighting its 360-degree swivel capability. Customers also appreciate its quiet operation and solid performance.
Your Action Plan for Reliable Vacuum Performance
Stop guessing and start measuring. Follow these steps to ensure you get the CFM performance you're paying for:
- Measure every tool port you own with digital calipers. Do not trust "1-7/8"" labels as they often vary by 1-2 mm
- Map your adapter chain for each tool, noting exact diameters and length at each transition
- Prioritize direct connections where possible (eliminate unnecessary adapters)
- Verify anti-static continuity through your entire hose/adapter system
- Keep a field reference of your actual measured CFM for critical tools (a $50 flow meter pays for itself in saved time)
I've seen too many pros waste money on "more powerful" vacuums when the solution was simply better interface planning. Remember that a well-matched 100 CFM system often outperforms a poorly configured 130 CFM setup. Your vacuum's potential CFM matters less than what actually reaches your tool's port.
Conclusion: The Power of Precision Planning
Next time you're comparing vacuums, look beyond the big CFM number on the box. Ask how they measured it, under what conditions, and what port size they used. But more importantly, measure your own tools first. A system designed around your specific ports and workflow will always outperform a generic setup with higher-rated specs.
The contractors I work with who've adopted this approach don't just get better cleanup, they finish jobs faster, avoid callbacks for dusty worksites, and never waste time running back to the shop for "one more adapter." That's the real payoff of understanding vacuum testing methodology: confidence that your system delivers what the job requires.
Ready to dive deeper? Check my fitment library for cross-reference charts showing exactly which adapters work with which tool ports (no guesswork, no dead-end connections). Your future self will thank you when that next big cleanup job goes smoothly because you planned your interfaces before buying boxes.
Related Articles
Basics & How Shop Vacs Work
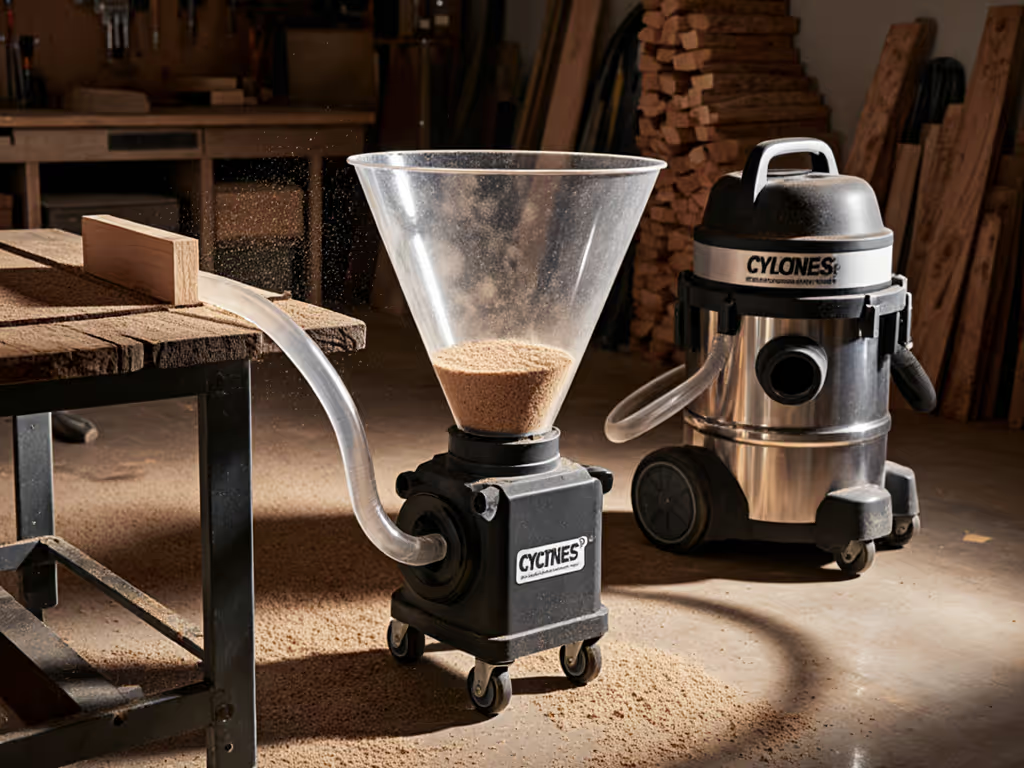
Cyclone Dust Separators: Maximizing Shop Vac Efficiency and Longevity
Map every connection - ports, adapters, and anti-static paths - before buying to build a cyclone setup that preserves suction and protects HEPA filters. Done right, it diverts 99.9% of debris >10μm and extends runtime from 8 to 47 minutes while cutting filter costs.