Disaster Cleanup Vacuums Compared: Heavy-Duty Solutions for Hurricane Floods and Debris
By Hana Kobayashi • 2nd Nov
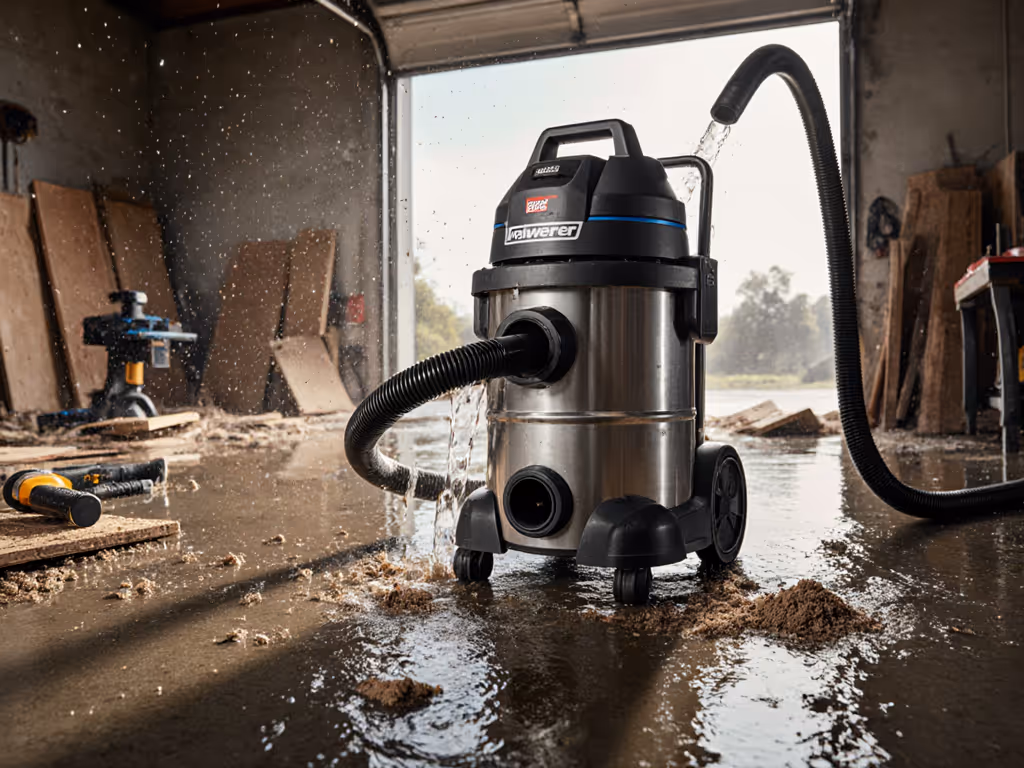
Standing water. Sludge. Debris mixed with drywall dust. After a hurricane hits, your disaster cleanup vacuum needs to perform when lives and livelihoods are on the line. The right hurricane flood vacuum isn't just about horsepower. It's about reliability when every minute counts. I've seen too many crews show up with equipment that fails exactly when homeowners are most vulnerable. Whether you're a contractor rushing to help neighbors or a facility manager securing your building, the wrong vacuum setup turns a disaster into a double mess. Let's get your toolkit ready for what matters most.
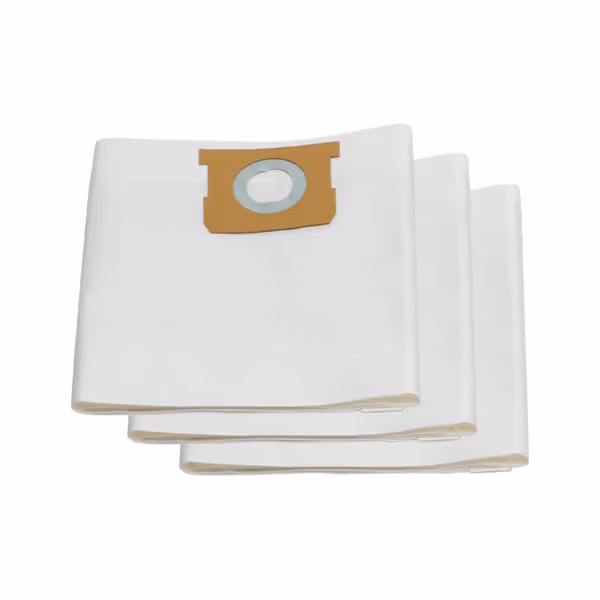
Vacmaster Standard Dust Bag (3-Pack)
Maintain a dust-free environment with these easy-to-install, genuine Vacmaster bags.
$9.99
Capacity5-6 Gallon Vacmaster and major brands
Capacity5-6 Gallon Vacmaster and major brands
Pros
Easy to install (customer favorite)
Effective dry pickup for common debris
Genuine Vacmaster part ensures fit and performance
Cons
Durability issues reported by some users
Mixed opinions on value for money
Customers find the vacuum cleaner bag to be of good quality and easy to install, with positive feedback about its fit and functionality. They appreciate its dust collection capabilities, with one customer noting it maintains a dust-free environment.
Customers find the vacuum cleaner bag to be of good quality and easy to install, with positive feedback about its fit and functionality. They appreciate its dust collection capabilities, with one customer noting it maintains a dust-free environment.
Why Your Vacuum Choice Makes or Breaks Disaster Response
Picture this: You're wading through knee-deep floodwater in a school gymnasium when your vac suddenly loses suction. The filter's clogged with mud. Again. Not only does your progress stall, but the stagnant water you're trying to remove now has extra time to warp flooring and grow mold. This isn't theoretical. I've seen it happen during Hurricane Sandy recovery. What separates a smooth operation from a reputation-killer? It's not the biggest tank or flashiest specs. It's a vacuum that stays upright, keeps suction, and doesn't force you to improvise when clients are watching. A vac that stays upright keeps your reputation upright.
Too many pros focus solely on CFM ratings or tank size while ignoring the workflow killers that actually derail jobs:
- Tip-prone designs that collapse when you wink at them
- Clog-prone filters that max out in minutes with silt
- Incompatible hose systems that leak air during critical extraction
- Missing wet/dry transitions that ruin motors or void warranties
During Hurricane Ian cleanup, I watched a crew lose three hours because they brought a paper-filtered shop vac for black water extraction. One contractor told me, "I just grabbed what was in my truck." Don't be that person. When dealing with contaminated water and storm debris, you need immediate readiness, not on-site troubleshooting. Review our shop vac safety guide for electrical and chemical hazard prevention during flood cleanup.
Vacuum Types Compared: Matching the Machine to the Mess
Let's cut through the marketing and compare what actually works for disaster scenarios. I've tested these setups across dozens of flood cleanups, from residential homes to municipal buildings.
Wet/Dry Shop Vacuums: The Accessible Workhorse
Best for: Solo contractors, small job sites, and initial emergency response
-
Tank size sweet spot: 8-12 gallons (large enough for meaningful extraction, small enough to maneuver in flooded spaces)
-
Must-have features:
- Drain port with threaded hose connection (for gravity drainage away from work area)
- Foam sleeve AND washable filter (skip paper filters, they disintegrate with contaminated water)
- 4 sturdy locking casters (two with brakes for unstable floors)
- Anti-static hose (reduces shocking when moving through wet environments)
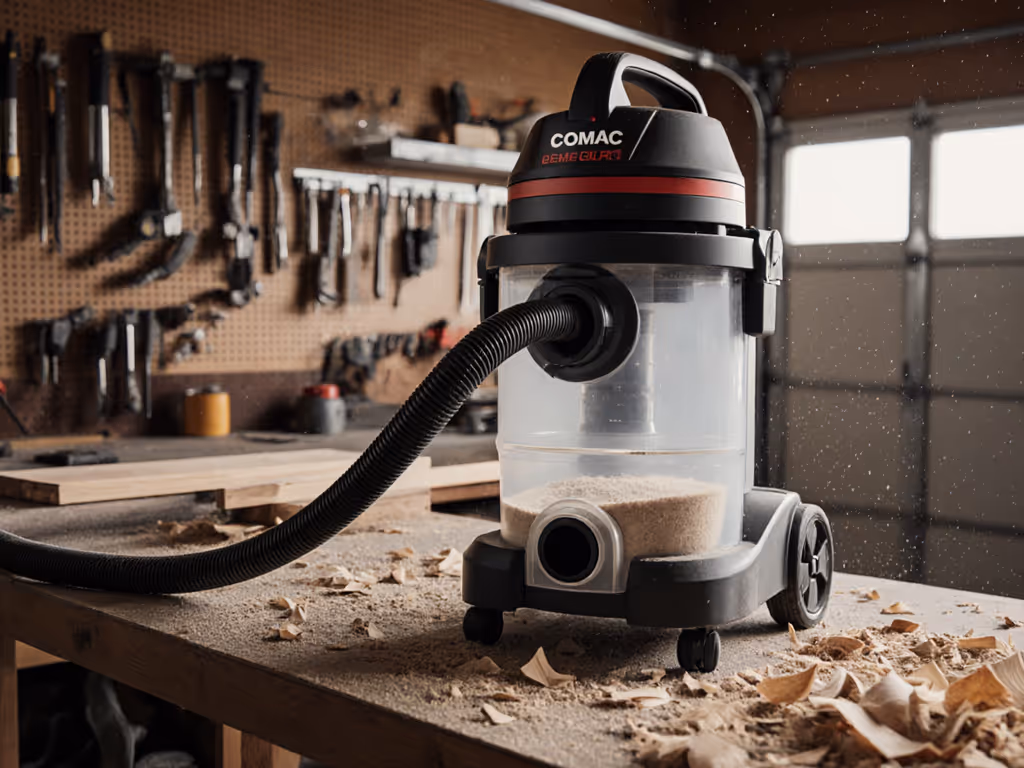
Watch for: Cheap models with small-diameter hoses (1-1/4") that lose suction with mud and silt. Aim for 1-7/8" minimum for storm debris vacuum work. For hose durability, flexibility, and leak-free connections, see our hose material comparison. I keep a 10-gallon Vacmaster V10 with 10-foot anti-static hose as my first-response unit. It handles everything from black water extraction to wet carpet cleaning without spontaneous disassembly.
Canister Vacuums: Stability for Serious Cleanup
Best for: Crews working extended hours in large flooded structures
-
Game-changer feature: Low center of gravity (under 24" height) prevents tip-overs on debris-strewn floors
-
Critical upgrade: Shorten standard hoses to 8-10 feet. Longer hoses create drag points that pull vacuums over during movement
-
Pro tip: Mount a fleece bag (like Vacmaster's standard dust bags) over the filter for initial sludge pickup. This extends filter life dramatically during mud and silt extraction vacuum tasks.
During a Charleston flood cleanup, I watched a contractor lose 90 minutes because his tall canister tipped when a hose snagged a debris pile. We strapped his tools tighter, added a 5-gallon bucket as a splash guard, and switched to shorter hose runs. His crew finished two hours ahead of schedule after that fix. That's the difference between a job well done and a job that follows you through town.
Truck-Mounted Systems: Heavy Water Removal
Best for: Municipal crews, large commercial sites, and standing water removal
-
Real-world capacity: 200-500 gallons (but verify actual usable capacity, some "500-gallon" units only safely hold 350)
-
Non-negotiable: Separate wet and dry filtration systems. Never cross-contaminate sewage cleanup with clean water extraction
-
Secret weapon: Tilt-drum systems that allow complete drainage without disassembly
While these powerful units handle massive water removal, they're overkill for most residential jobs. For homes and small buildings, use our best flood vacuum setup to build a leak-proof, quick-deploy extraction kit. I reserve them for sites with more than 500 gallons of standing water. For smaller jobs, the setup time and mobility issues often outweigh the capacity benefits.
Your Disaster Response Checklist: Before You Roll
Prep beats cleanup
Don't wait for the storm warning to get ready. Run through this pre-flight checklist quarterly (and before hurricane season).
Hose & Connection Readiness
- Verify static dissipation rating on all wet-use hoses (look for "anti-static" label)
- Confirm port sizes match your tools (1-7/8" is standard for serious flood work)
- Keep spare hose clamps and Teflon tape in your disaster kit
- Test all connections for air leaks by submerging in water during pre-check
Filter & Bag Strategy
- Black water extraction: Always use dual filtration, foam sleeve + HEPA cartridge Not sure which media is best? See our foam vs paper vs HEPA filters comparison.
- Mud and silt work: Start with fleece bag over primary filter (replace after first 15 minutes)
- Dry debris phase: Switch to standard paper bags (like Vacmaster's 5-6 gallon bags) for fine dust capture
- Never mix wet and dry filters between jobs. Dedicate separate systems
Stability & Mobility Audit
- Add rubberized feet to all portable units (prevents floor slip on wet surfaces)
- Shorten hose runs for flood phase (8-10 feet max)
- Store tools in bungee-secured tray (no loose attachments to catch on debris)
- For uneven floors: swap two rear casters for stationary feet
Making the Switch: Wet to Dry Transitions That Don't Fail
This is where most crews get tripped up. For fundamentals on wet-only vs true wet/dry vacs and safe changeovers, read our wet and dry vacuum guide. When moving from floodwater extraction to drywall sanding cleanup, you need a complete system reset.
-
Physical separation: Keep two dedicated vacuum systems if possible: one for wet, one for dry work
-
If sharing one unit: Perform full teardown:
- Remove and deep-clean all wet components (hoses, drums, filters)
- Replace foam sleeves and pre-filters (they retain moisture)
- Run vinegar solution through system to prevent mold growth
- Allow 24 hours drying time before dry work
-
Never skip the fleece bag during initial dry cleanup. It catches residual moisture that ruins standard filters
During a recent coastal home restoration, I watched a crew try to transition too quickly from water removal to drywall sanding. They skipped the drying phase and paid for it with a ruined HEPA filter and three callbacks to fix dust contamination. A proper transition takes time, but it's faster than redoing work. Much faster.
The Bottom Line: Reliable Vacuums Prevent Reliability Crises
When disaster strikes, your equipment isn't just tools, it's your professional reputation moving through water and mud. The right disaster cleanup vacuum gives you what spec sheets never measure: confidence that it won't fail when someone's counting on you.
Choose stability over size. Prioritize compatibility over brand loyalty. And remember, no contractor ever lost a job because their vacuum was too reliable. Smooth workflow beats specs if the vac tips or clogs. I've rebuilt my entire fleet around this principle after that cabinet incident I mentioned earlier.
Prep beats cleanup
Actionable Next Step
This week, perform a vacuum stress test before hurricane season ramps up:
- Fill your primary unit with 2 gallons of muddy water (mix soil with water)
- Time how long it runs before suction drops
- Note any stability issues as you move it through "debris" (stacked 2x4s work well)
- Document filter clogging time and access for quick changes
- Repeat with your dry configuration using fine sawdust
If you can't complete this test without problems, you're not ready for real disaster response. Make your adjustments now, not when standing water is rising around you. Your clients, and your reputation, deserve that much.
Related Articles