Shop Vac Wet Dry Filter Cleaning: Maintain Strong Suction
By Hana Kobayashi • 3rd Oct

When your shop vac wet/dry unit starts losing suction or spewing dust back into your workspace, it is rarely a motor problem, it is your filter. Learning how to clean shop vacuum filters properly is the single most impactful maintenance task you can perform to maintain performance. As someone who runs vacs daily across demo, sanding, and flood cleanup jobs, I've seen more client relationships damaged by tipped vacs and clogged filters than by any spec sheet deficiency. A smooth day is never about peak specs: it is about avoiding the tip that ruins cabinets, or the clog that turns 5 minutes of cleanup into an hour.
Prep beats cleanup. That's not just my mantra, it is what keeps your reputation clean when clients walk through freshly renovated spaces. Here's your field-tested filter maintenance routine that keeps vacs humming without the mess.
1. Recognize Failure Modes Before They Wreck Your Workflow
Filters failing silently is the real job site assassin. Watch for these signs:
- Suction drop: If your hose starts feeling like it's breathing instead of vacuuming, don't just crank the motor harder (check the filter first). A paper filter clogged with drywall dust can lose 70% suction before you notice.
- Dust blow-by: That fine haze around your vac? That's your filter compromised. On a recent jobsite, this sign appeared 20 minutes before the motor overheated completely.
- Wet filter residue: After flood cleanup, if you smell stagnant water days later, it's trapped moisture in the filter housing.
- Paper tears: Visible rips mean dust bypasses directly to your motor. That Craftsman 2.5-gallon unit I demoed for garage detail work immediately started spewing sawdust from minor filter tears.
Don't wait for complete failure. A vac that stays upright keeps your reputation upright (same goes for its filter).
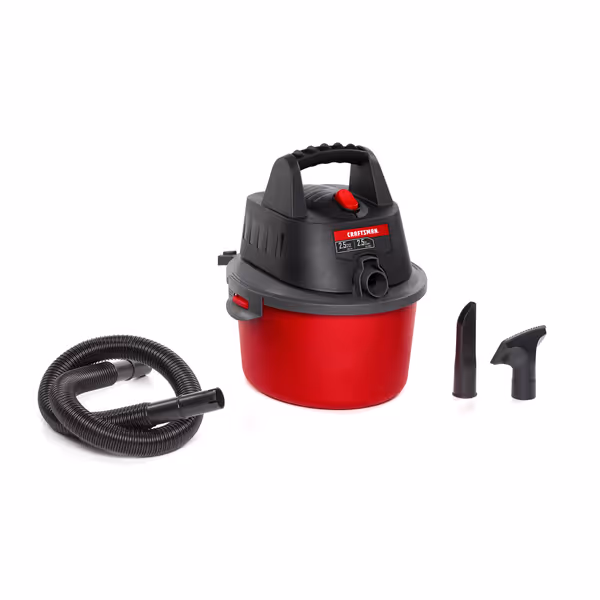
CRAFTSMAN 2.5 Gallon 2.5 Peak HP Wet/Dry Shop Vac
Compact, powerful, and portable for quick cleanup of small wet or dry messes.
$44.99
Capacity2.5 Gallon
Capacity2.5 Gallon
Pros
Portable & Lightweight: Easy to carry for quick cleanups.
Strong Suction: Handles both wet spills and dry debris effectively.
Versatile: Doubles as a blower and great for tight spaces.
Cons
Fine Dust Emission: May spew fine dust out the back.
Small Capacity: Requires frequent emptying for larger jobs.
Customers find the shop vacuum works well for both wet and dry tasks, with strong suction that handles sawdust and water effectively. They appreciate its compact size, lightweight design, and powerful performance for its size, making it suitable for small jobs and car cleaning. The vacuum is easy to use, and while it excels at cleaning small messes, some customers note that it spews fine dust out the back during operation.
Customers find the shop vacuum works well for both wet and dry tasks, with strong suction that handles sawdust and water effectively. They appreciate its compact size, lightweight design, and powerful performance for its size, making it suitable for small jobs and car cleaning. The vacuum is easy to use, and while it excels at cleaning small messes, some customers note that it spews fine dust out the back during operation.
2. Dry Filter Cleaning Protocol: Five Steps That Won't Create New Messes
Follow this sequence every time you're collecting dry materials (drywall, wood, concrete):
-
Unplug & ventilate: Always disconnect power first. Clean filters outdoors or in well-ventilated areas (never indoors where you'll just redistribute the dust you're trying to capture).
-
Pre-flight debris removal: Before removing the filter, slap your hose handle against the drum edge to knock loose larger particles. Works surprisingly well for 1-1/4" or 1-7/8" diameter hoses.
-
Tap method for quick jobs: Remove filter and place inside a trash bag. Tap firmly against the sides (this captures most debris while preventing cloud formation). I've prevented countless drywall dust puffs this way during client walkthroughs.
-
Compressed air technique for deep cleaning: Use 30-40 PSI max, blowing from inside out to avoid forcing particles deeper into the paper pleats. Keep nozzle 6" away from fragile filter media.
-
Water wash only when necessary: For fine dust lockdown (like after sanding), soak in mild soap solution for 10 minutes. Never use harsh chemicals that degrade paper fibers. Rinse thoroughly and air dry completely (24 hours minimum) before reinstalling.
Prep beats cleanup: A 5-minute filter check pre-job prevents a 30-minute clog crisis mid-task.
3. Wet Filter Protocol: Avoiding the Mold Trap
Water cleanup demands special handling to protect your shop vac and motor investment:
-
Never use dry paper filters for liquids. Always install a foam sleeve beneath paper filters during wet pickup. Sawdust plus water equals concrete inside your filter.
-
Immediate post-job drying: After water extraction, remove filter and hose immediately. Rinse filter under a gentle stream (no pressure washers!) while tapping to dislodge debris. The foam sleeve goes in the sink, wash with mild detergent.
-
Strategic drying: Hang paper filters vertically in a warm, dry space with fans circulating air. Never use heat guns or ovens (this cracks the paper media). I've seen contractors ruin $30 filters trying to rush drying.
-
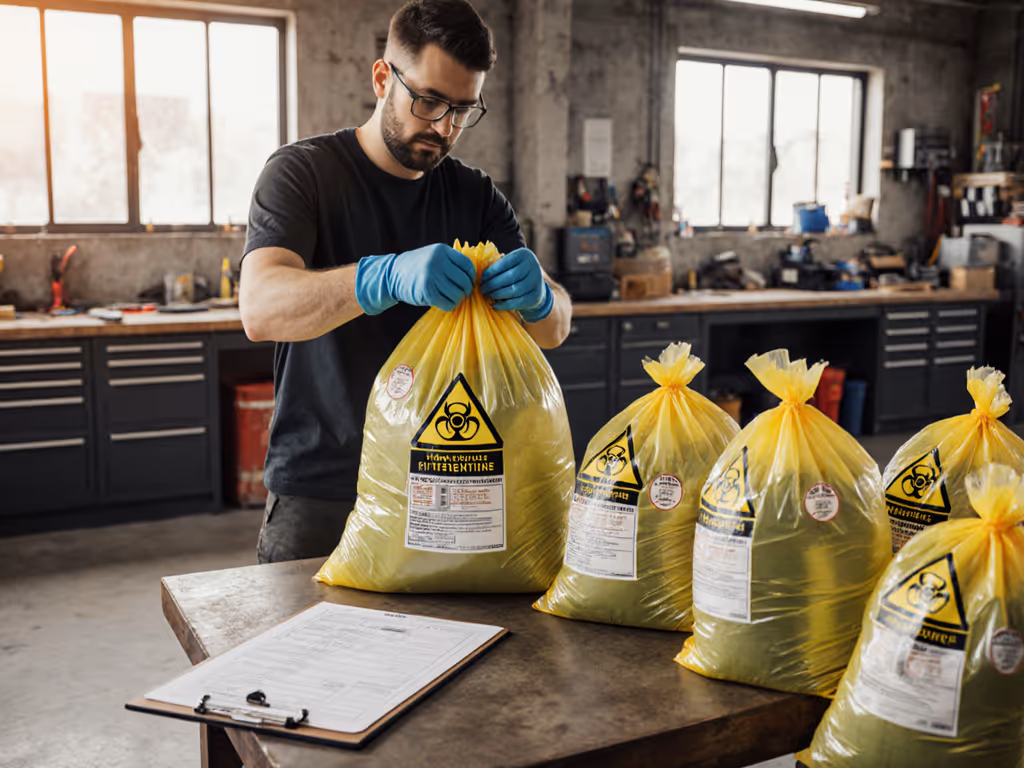
Deep mold treatment: If you catch that musty smell, soak in a 50/50 water-vinegar solution for 1 hour before the final rinse. Never reinstall a damp filter (this risks electrical damage and biohazards).
For a true shop vac filter replacement guide, know that filters used in wet applications need replacement 2x faster than dry-only units. When in doubt, replace it, cheaper than motor repairs.
4. Preventative Measures That Extend Your Entire System Lifespan
Your filter is the canary in the coal mine for your entire vacuum system. Implement these to extend shop vac lifespan:
-
Pre-separator for fine dust: For drywall or concrete, add a cyclone separator before the main filter. This captures 80% of fine particles, dramatically reducing filter loading. My Ridgid 9-gallon unit with a simple PhilyMex pre-filter now handles 3x more drywall jobs between cleanings.
-
Strategic filter rotation: Keep 2-3 filters on hand. While one dries completely, you're not rushing the process. Rotate filters weekly to prevent premature wear on any single unit.
-
Hose hygiene: Clean your hose monthly using a long brush (like a shop vac wand extension) to unclog shop vac hose restrictions. A clogged hose forces the motor to work harder, overheating both motor and filter.
-
Post-job ritual: After every use, empty drum, wipe housing interior with a damp cloth, check filter condition. This 2-minute habit prevents most major issues.

5. Replacement Timing: Know When Cleaning Isn't Enough
Even with perfect maintenance, filters reach end-of-life. Replace immediately when you see:
- Visible tears or holes in filter media
- Persistent musty odor after multiple cleanings
- Reduced suction that doesn't improve after thorough cleaning
- More than 6 months of regular drywall/concrete use
- Any exposure to chemicals, oils, or solvents
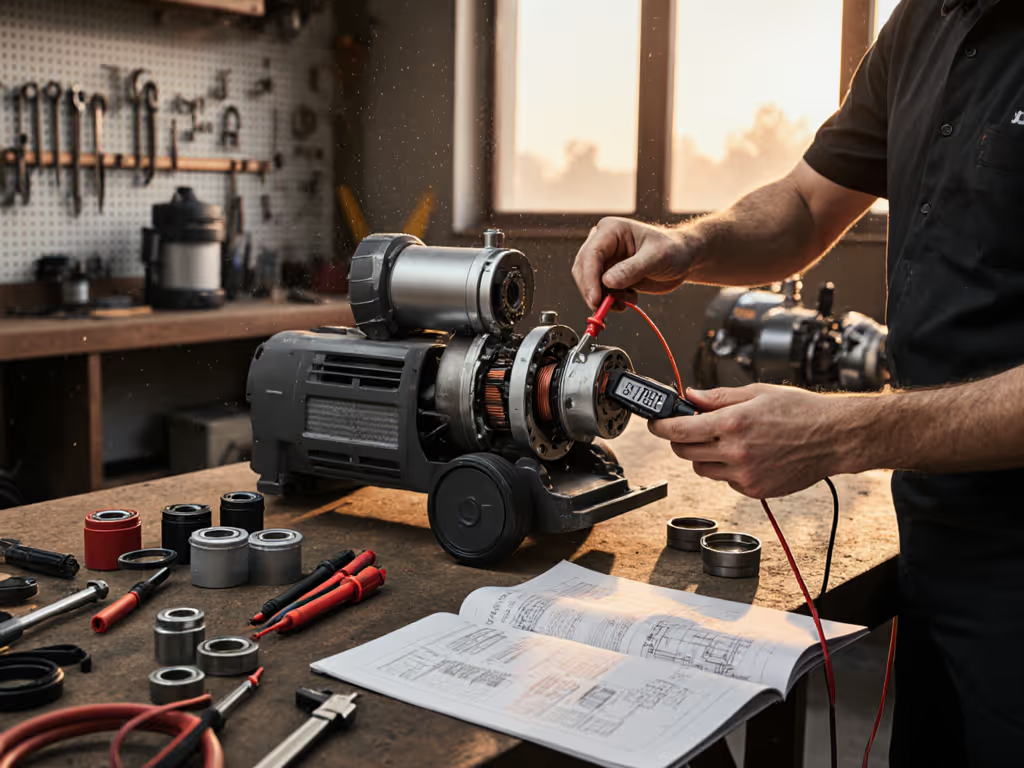
A clogged filter isn't just inconvenient, it forces your motor to work harder, generating excess heat that degrades internal components. That's why proper filter care is ultimately shop vac motor care. I've revived units others wrote off simply by addressing neglected filters before motor damage occurred.
Remember the client tour where a tall vac hit a cord and puffed drywall dust across new cabinets? That embarrassment could've been avoided with a simple filter check and stable setup. Don't learn this lesson the hard way.
Your actionable next step: Grab your vac right now and perform a 60-second filter assessment using steps 1 and 2 of this guide. Then, schedule your next filter cleaning immediately after your upcoming job (while it's still fresh in your mind). Because when it comes to job site reliability, prep really does beat cleanup.
Related Articles