Shop Vacuum Dust Collection: Fix Loose Fits for Woodworking
By Diego Santana • 3rd Oct
If your shop vacuum for woodworking feels like a series of compromises rather than a seamless system, you're not alone. That frustrating gap between your dust collector woodworking setup and your tools isn't just annoying, it's costing you suction, time, and protection from dangerous fine particles. A proper shop vacuum dust collection system should feel like a calibrated instrument, not a collection of adapters held together with hope. I've been there, grabbing calipers after inheriting a drawer of mismatched adapters that refused to couple properly with my sanders. What I discovered transformed my cleanup time and reclaimed my peace of mind.
The Real Problem: Measurement Matters More Than Marketing
Most woodworkers focus on vacuum horsepower while ignoring the critical interface points where performance lives or dies. That loose connection between your miter saw and vacuum hose isn't just letting dust escape, it's dramatically reducing your effective CFM. When air leaks at the connection point, you're throwing away up to 40% of your vacuum's potential suction before it even reaches the dust source.
Sketch the system before buying anything. This one discipline transformed my relationship with dust collection.
Let's fix this properly with a modular approach that guarantees fitment and performance.
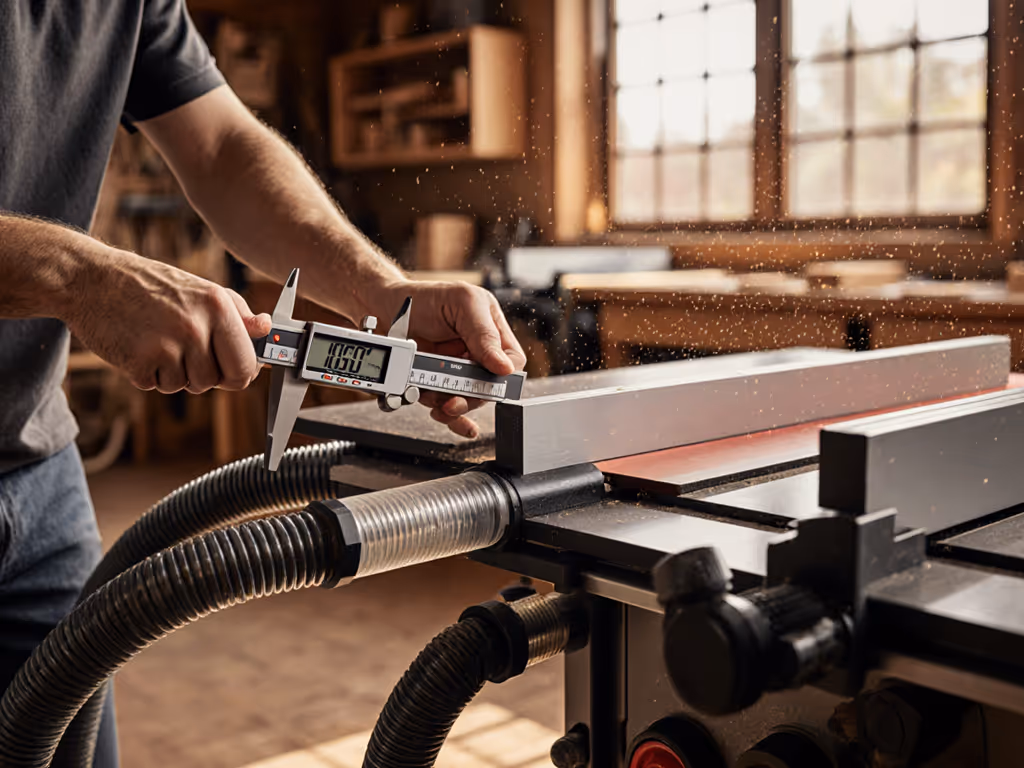
Step 1: Audit Your Tool Ports with Precision
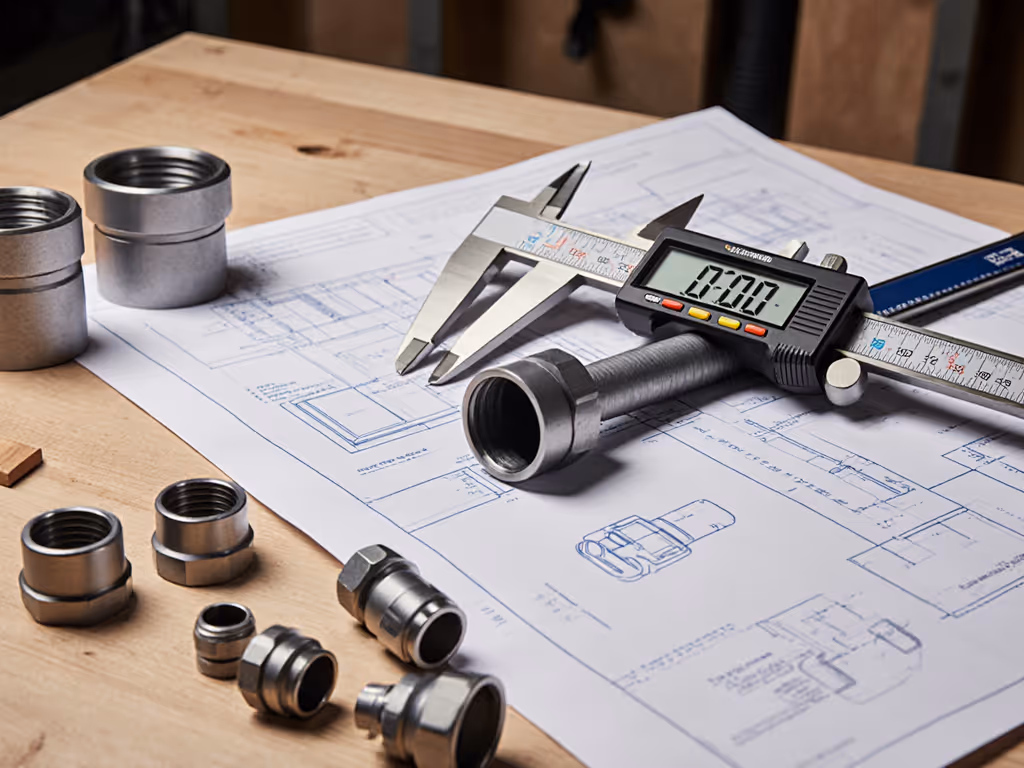
Before you buy another adapter, measure every port with calipers. Don't trust "standard" sizes printed on boxes, actual measurements beat guesses every time.
What to measure:
- Inner Diameter (ID): The critical measurement for seal quality
- Outer Diameter (OD): Determines which locking mechanisms will engage properly
- Taper: Some ports (like Festool) have slight tapers that affect retention
- Depth: Critical for proper hose insertion without crimping
Common woodworking tool ports by category:
| Tool Type | Typical Port Size | Actual Measured Range | Anti-Static Requirement |
|---|---|---|---|
| Sanders | 27mm | 26.95-27.15mm | Critical - use conductive hose |
| Router tables | 27mm or 36mm | 26.95-36.25mm | Moderate |
| Miter saws | 1-1/4" or 1-7/8" | 31.5-47.8mm | Low |
| Table saws | 2-1/2" | 63.3-63.8mm | Critical |
Create your own fitment chart with your specific models. My shop's reference card shows that Bosch ROS20VSC takes a 27mm port with 0.1mm tolerance, while my Makita BO5041 needs 36mm with 0.05mm tolerance. This precision eliminated my "will it fit?" anxiety.
Step 2: Map Your Vacuum System Requirements
Your shop vacuum for woodworking needs to match your tool ecosystem's interface requirements, not just provide raw suction. Here's how to build the compatibility map:
Identify your vacuum's OUTPUT specifications:
- Standard Vacmaster models (like VJH1211PF) have 2-1/2" ports measuring 63.4mm +/-0.2mm
- RIDGID WD1450 features a 2-1/2" port measuring 63.7mm +/-0.3mm (note the slight difference)
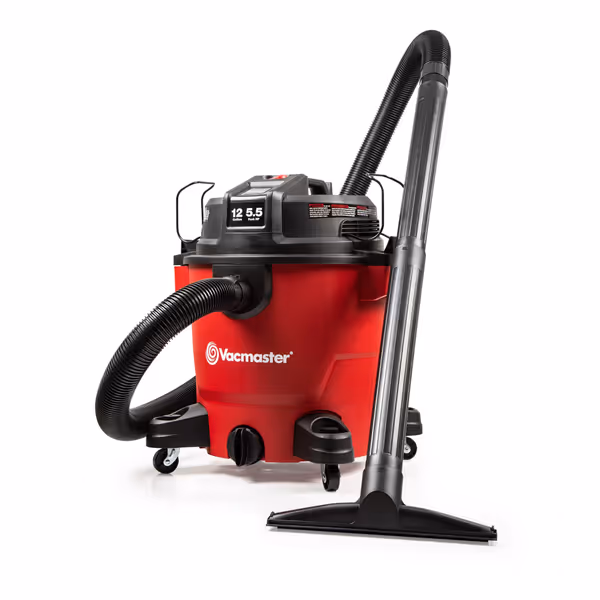
Vacmaster 12-Gallon 5.5 Peak HP Wet/Dry Vacuum
Powerful, organized wet/dry vac for diverse job site and vehicle cleanups.
$89.98
Cleaning Reach27 Feet
Cleaning Reach27 Feet
Pros
High-performance 5.5 Peak HP motor tackles tough messes.
Integrated hose, cord, and accessory storage for organization.
Converts to blower; large drain for quick emptying.
Cons
Clasps may show durability issues over time.
“Powerful and effective, especially for truck and bed cleaning. Easy to maneuver, keeps dust contained.”
“Powerful and effective, especially for truck and bed cleaning. Easy to maneuver, keeps dust contained.”
These seemingly minor tolerances create major connection differences. When I measured my Vacmaster's port, I discovered it's actually 0.3mm larger than claimed, enough to cause wobble with standard adapters.
Calculate your anti-static path requirement:
For fine dust work (sanding, routing), you need a complete conductive path from tool to collector:
Tool housing → Conductive hose (carbon-stranded) → Metal adapter → Collector housing
A single non-conductive link breaks the path. Most DIY setups fail here, you might have a conductive hose but plastic reducers that isolate the tool from ground.
Step 3: Build a Modular Adapter System
Forget random adapters. Create a system with documented part numbers that interlock predictably. For a curated comparison of options, see our best shop vacuum attachments for woodworking dust control.
Essential adapter mappings for woodworking:
| Connection | Required Adapter | Part Number | Notes |
|---|---|---|---|
| 27mm tool → 1-7/8" hose | Festool 499127 | 499127 | Locking collar, metal |
| 36mm tool → 1-7/8" hose | Jet JET155350 | JET155350 | Spring-clamp design |
| 1-7/8" → 2-1/2" | Mirka 839300 | 839300 | Anti-static when properly grounded |
| RIDGID WD1450 port → 2-1/2" cyclone | RIDGID 12901 | 12901 | Direct thread connection |
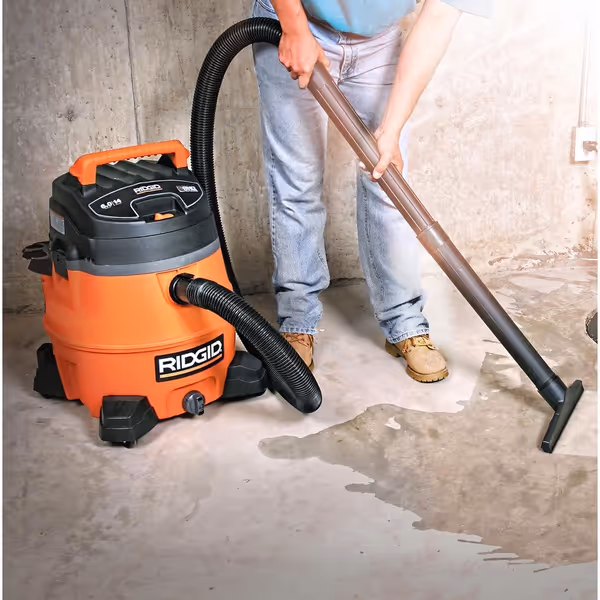
RIDGID WD1450 14-Gallon 6-HP Wet/Dry Vac
Powerful, quiet, and maneuverable for job site and vehicle cleanups.
$259.95
Peak Horsepower6 HP
Peak Horsepower6 HP
Pros
Strong suction handles tough job site and vehicle messes.
Noise-reduction technology for quieter operation.
Tug-A-Long locking hose prevents disconnections.
Cons
Plastic caster wheels may struggle on rough terrain.
Fine-dust filter suitable for small liquid amounts only.
Customers find this vacuum cleaner to be a powerhouse that works great for cleaning cars and truck interiors. They appreciate its quiet operation, strong suction, and ease of use. The vacuum is well worth the money, and customers like the included accessories, with one mentioning the car tool is great for upholstery cleaning.
Customers find this vacuum cleaner to be a powerhouse that works great for cleaning cars and truck interiors. They appreciate its quiet operation, strong suction, and ease of use. The vacuum is well worth the money, and customers like the included accessories, with one mentioning the car tool is great for upholstery cleaning.
For your dust collector for miter saw applications, the critical connection is between the saw's 1-1/4" or 1-7/8" port and your vacuum hose. Rather than stacking multiple adapters (which increases leak points), I recommend a direct 1-7/8" reducer like Mirka 839100 that threads directly to the saw's port.
For router vacuum setup needs, the 27mm port is your anchor point. Instead of forcing a 1-1/4" adapter (which creates a 3mm gap), use a stepped 27mm-to-36mm adapter that maintains the seal while giving you flexibility to connect to larger hoses when needed.
Step 4: Test and Refine Your Connections
Don't assume your connections are tight enough. Here's how to verify:
The leak test:
- Attach your hose and adapter to a tool port
- Seal the tool's dust port with your hand
- Turn on vacuum at full power
- You should feel strong suction immediately
- If you feel air leaking around the connection, you've got a fitment issue
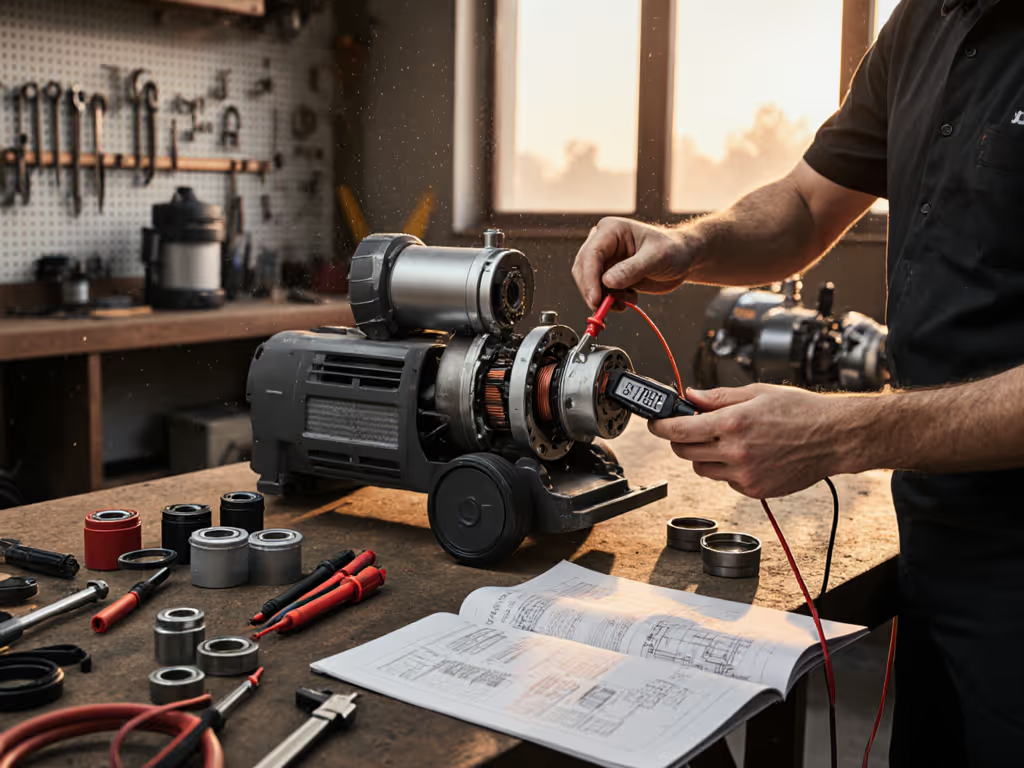
Anti-static verification:
Use a multimeter set to continuity:
- Probe from tool housing to vacuum tank
- Should read near 0 ohms for proper grounding
- Any reading above 10 ohms indicates a broken path
Document your successful connections with photos and measurements. My shop has a fitment board mounted next to my dust collector showing exactly which adapters work with which tools. Each connection point has a label showing the measured ID, OD, and required adapter part number. This simple system eliminated my adapter confusion and reduced cleanup time by 50%.
Sustainable Fitment for Long-Term Success
The magic happens when you stop treating your dust collection as separate components and start seeing it as one integrated system. That router vacuum setup that worked perfectly for your Festool now needs to connect seamlessly to your Vacmaster collector. When you standardize on precise diameters and documented tolerances, you eliminate the guesswork that plagues so many workshops.
This approach transformed my workflow, I inherited four vacs and a drawer of random adapters, yet none fit our sanders. I grabbed calipers and mapped every port: 27 mm, 36 mm, 1-7/8 in, 2-1/2 in. We standardized hoses, labeled reducers, and hung a fitment board. Cleanup time halved, and clog complaints vanished.
Measure ports, map adapters, then nothing surprises on-site.
Your shop vacuum dust collection system should feel as intentional as your joinery: every connection precise, every path documented, and every component serving a purpose. Next time you're frustrated with loose fits, remember: fitment drives performance; plan interfaces before buying boxes. Start with your tool ports, not the vacuum catalog, and you'll build a system that works as hard as you do.
Related Articles