Stop Concrete Slurry Clogs in Wet/Dry Vacs
By Hana Kobayashi • 26th Nov
If your wet dry vacuum chokes on cement slurry cleanup during concrete pours, you're wasting more than time, you're risking client trust. That's why I never demo without a rock-solid slurry vacuum setup. Remember: a vac that stays upright keeps your reputation upright. One slip of a tall canister spreading wet slurry across finished cabinets taught me to prioritize stability over specs. Today, I'll share my stepwise system to prevent clogs, avoid spills, and keep your wet/dry vac humming through abrasive pours. Prep beats cleanup when quartz dust and liquid concrete threaten your uptime.
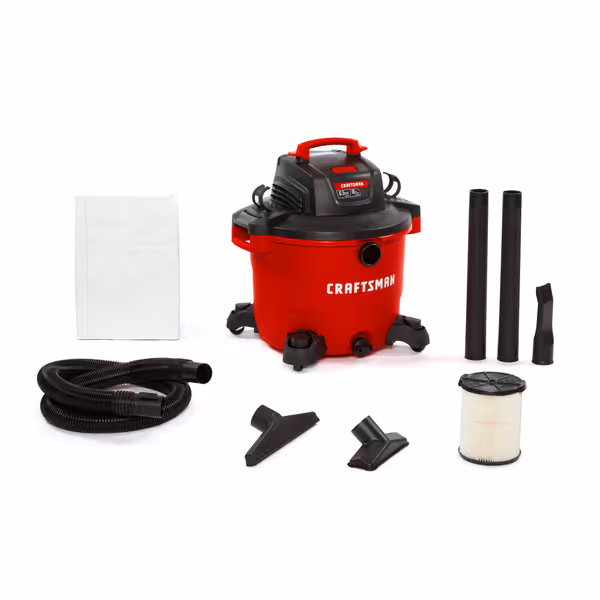
CRAFTSMAN CMXEVBE17595 16 Gallon Wet/Dry Vac
Powerful, large-capacity wet/dry vac for heavy-duty garage and jobsite messes.
$139.99
Peak Horsepower6.5 HP
Peak Horsepower6.5 HP
Pros
Incredible suction handles large debris and liquids easily.
Oversized drain and blower port for convenience.
Durable 2-1/2 in. Dual-Flex hose resists kinking.
Cons
Bulky size can be difficult to maneuver in tight spaces.
Mixed durability feedback; some report parts coming apart.
Customers find this shop vacuum to be of excellent quality, with incredible suction and more than enough power for multiple uses. It effectively collects dust and debris, and customers consider it well worth the price. The size receives mixed feedback - while some appreciate its large capacity, others find it too big to maneuver. Durability is also mixed, with some customers feeling it will last forever while others report it coming apart during use.
Customers find this shop vacuum to be of excellent quality, with incredible suction and more than enough power for multiple uses. It effectively collects dust and debris, and customers consider it well worth the price. The size receives mixed feedback - while some appreciate its large capacity, others find it too big to maneuver. Durability is also mixed, with some customers feeling it will last forever while others report it coming apart during use.
Why Slurry Clogs Happen (and How to Stop It)
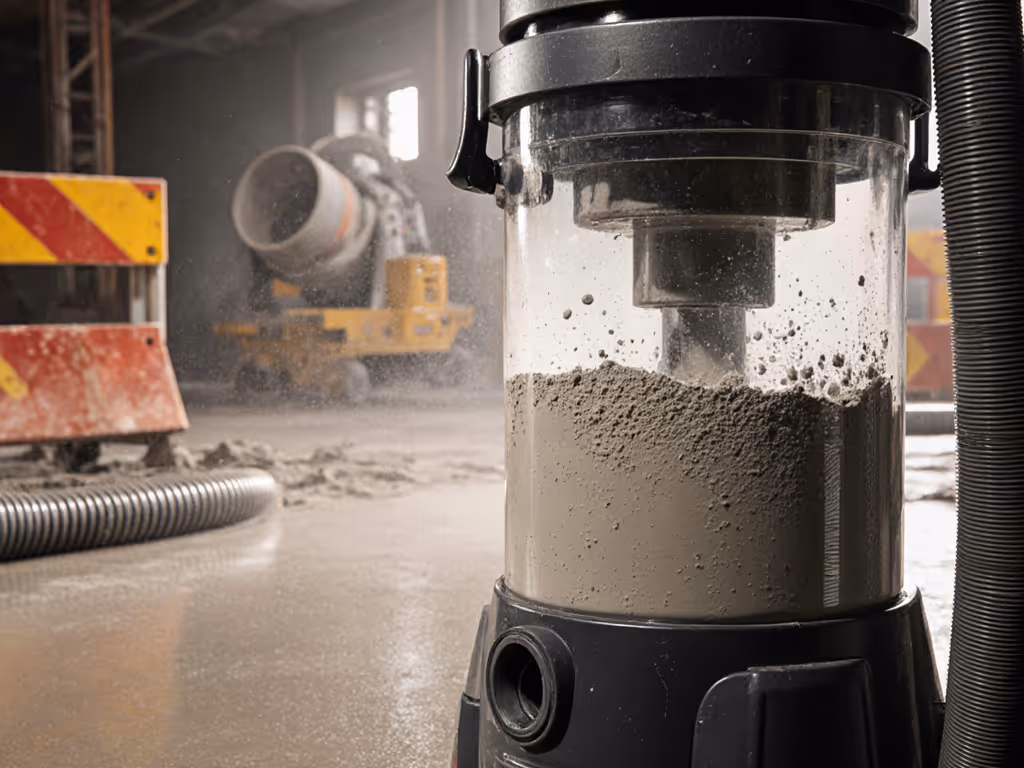
Concrete slurry isn't just wet dust: it's a mix of water, cement powder, and aggregate fines that hardens while you're vacuuming. Standard concrete pouring vacuum setup mistakes guarantee clogs:
- Filter overload: Paper filters blindfold your vac in minutes when fine particles cake the surface.
- Hose collapse: Thin-walled hoses buckle under slurry's weight, especially when bent near pours.
- Tank design flaws: Narrow drain valves trap slurry, forcing you to tip the vac sideways to empty, guaranteeing spills.
Critical fix: Never run a wet vac directly into slurry. Always use a 2-stage process: collect → process → dispose. Skipping this is how you ruin motors and violate silica compliance. For requirements and gear, see our silica dust compliance guide.
Step 1: Pre-Flight Setup (5 Minutes That Save Hours)
Before opening a bag of cement, secure these three elements:
-
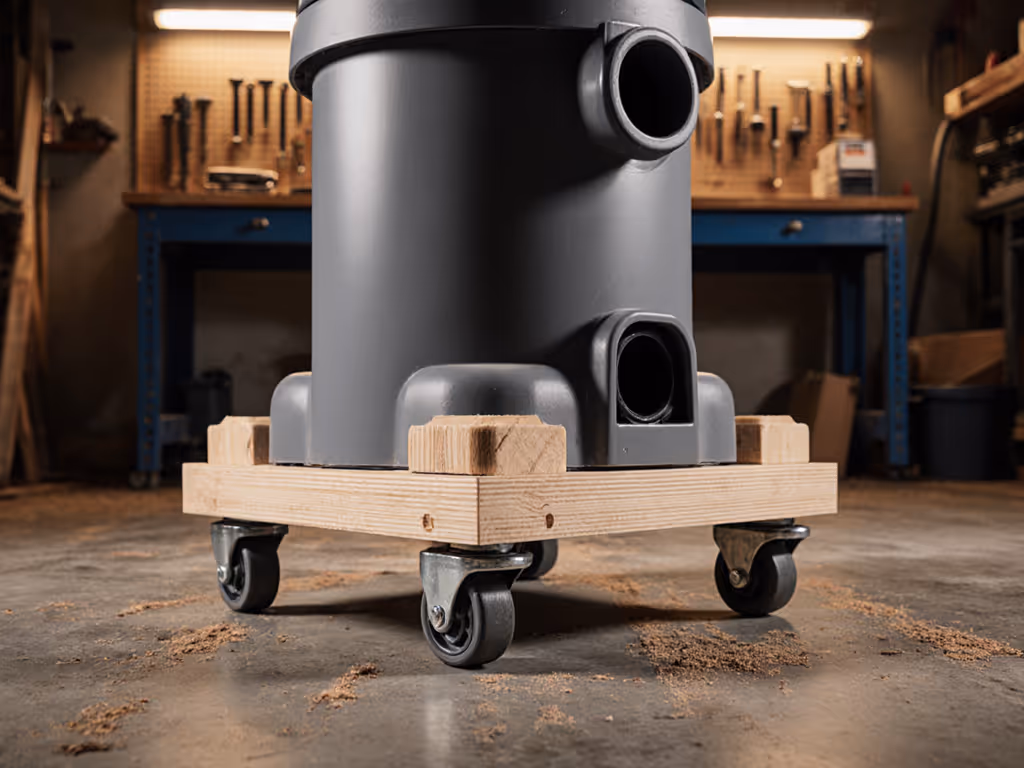
Lower your profile: Swap tall canisters for low-slung wet/dry vacs (like a 16-gallon shop-style model). Strap it to a dolly below waist height. Why? Centrifugal force pulls slurry toward the tank base, keeping the center of gravity low to prevent tip-overs. Add rubber matting under casters for wet floors.
-
Reinforce hose integrity: Use a 2.5" rigid hose with dual-flex joints (no accordion sections). Understand how hose length and diameter affect suction before you commit to a run. For abrasive material vacuuming, clip the hose every 18" to scaffolding or wall braces. Field tip: Wrap hose connections with 2" duct tape before locking, which stops slurry leaks without restricting airflow.
-
Strategize filter protection: Toss paper filters. Install a reusable foam sleeve plus a cartridge filter rated for wet concrete. For quick-setting concrete cleanup, pre-wet the foam sleeve to trap particles before they dry-lock inside. Empty the tank before slurry hits 1/3 capacity (concrete sets fast below the water line).
Step 2: Real-Time Slurry Handling Techniques
When slurry flows, your vac becomes a moving target. These slurry handling techniques prevent mid-job meltdowns:
-
The 2-Minute Rule: Every two minutes, reverse the hose nozzle 180 degrees to blast accumulated slurry back into the tank. Why? Slurry gravitates toward the vac inlet, so reverse flow scrapes settled solids from hose walls.
-
Water Dilution Hack: Keep a 5-gallon bucket of clean water near the pour. Splash a cup into the slurry puddle before vacuuming. Caution: Never exceed 10% water-to-slurry ratio, because too much water creates hazardous runoff. This thins viscosity without triggering premature hardening.
-
Emergency Clog Protocol: If suction drops:
- Shut off the vac immediately (running dry overheats motors)
- Disconnect the hose and pour 2 cups of muriatic acid down the wand (1:10 dilution with water)
- Wait 90 seconds (enough to dissolve cement without damaging hoses)
- Flush with clean water before reconnecting
Step 3: Safe Tank Processing & Disposal
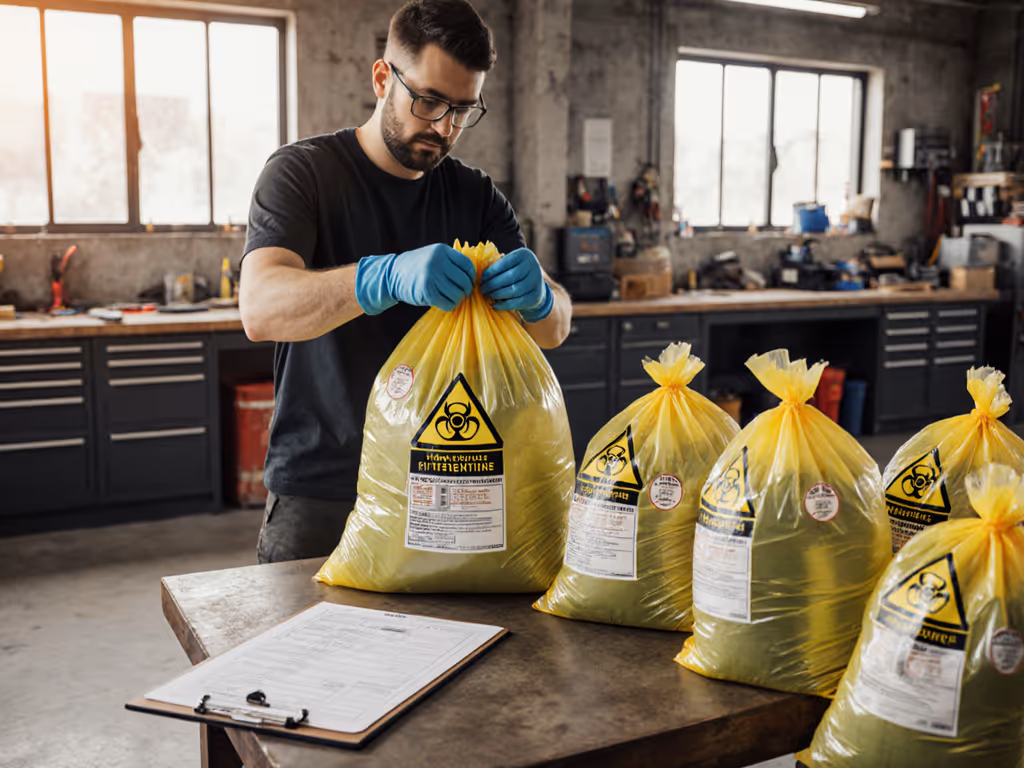
Never dump liquid slurry into landfills: it violates EPA regulations and can harden in transit, destroying your tank. Instead:
-
Pump, don't pour: Attach a slurry-spout system (like a venturi pump) to your vac's drain valve. This transfers slurry at 40+ GPM without tipping the tank. Note: Pressure washers need at least 3 GPM flow to activate these systems.
-
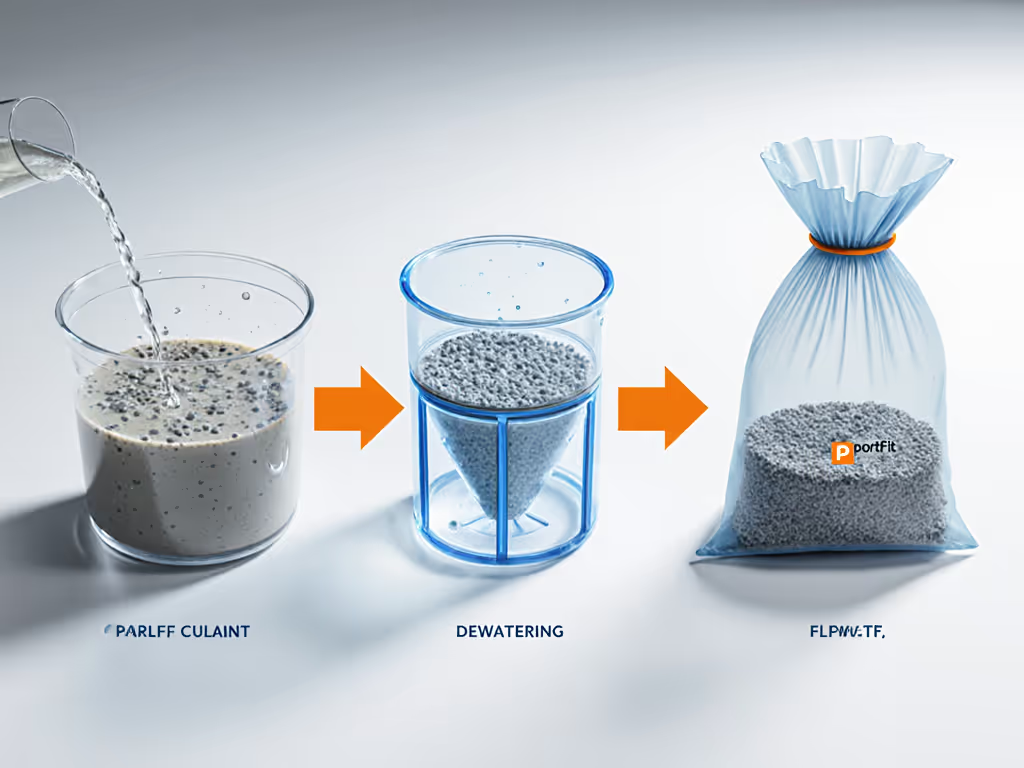
Solidify on-site: Mix slurry with a flocculant (e.g., SlurrySep) in a tote. Use 1 cup per 50 gallons of slurry. Stir 2 minutes until particles clump. Critical: Wait 15+ minutes; the separation reaction needs time.
-
Final dewatering: Pump the mixture into a slurry-sifter bag. Water filters out; solids form a dry cake. Sprinkle solidifier (e.g., Slurry-Sponge) on residue. In 10 minutes, you'll have a crumbly mass safe for dumpster disposal.
Step 4: Post-Job Vacuum TLC
Slurry residue hides in unseen crevices. For a full maintenance checklist, use our wet/dry filter cleaning guide. Skip this teardown, and your next job starts with reduced suction:
-
Flush the impeller: Run 3 gallons of clean water through the system post-drain. Slurry cakes in the impeller housing, causing vibration.
-
Dry the filter housing: Remove the cartridge filter and wipe the socket with a microfiber cloth. Trapped moisture breeds mold and rust.
-
Inspect the drain valve: Check for concrete crystals around the seal (use a flashlight). Scrape gently with a plastic putty knife (metal tools score rubber gaskets).
Why This Works: Less Guesswork, More Trust
Your client doesn't care about CFM ratings; they care that your vac doesn't tip onto their new hardwood. By stabilizing the setup, managing slurry viscosity, and processing before disposal, you eliminate the top embarrassment triggers pros face: spilled slurry, failed inspections, and wasted labor hours. Prep beats cleanup every time you choose a low-profile tank, reinforce hose lines, and respect concrete's setting timeline.
Your Action Plan
- Today: Lower your vac's height and secure hose lines with tape wraps.
- This week: Buy flocculant and test it on 5 gallons of slurry. Time the separation.
- Next pour: Implement the 2-minute reverse-flow habit during vacuuming.
Stop reacting to clogs. Start building unshakable workflows where your wet dry vacuum handles cement slurry cleanup like it's built for it, because now, it is.
Related Articles