Cold Weather Shop Vacuum: Maintain Suction Below Zero
By Marco Nguyen • 27th Mar
Winter doesn't just slow down your job site. It silently strangles your shop vacuum's performance. Cold air, low humidity, motor stress, and condensation can rob you of 15-25% of your suction capacity and corrode internal components before you notice the damage. If you're pulling drywall dust, silica, or snow slurry in temperatures below 10°C (50°F), a cold weather shop vacuum maintenance routine isn't optional; it's the difference between consistent 85+ inH₂O sealed suction and a clogged, struggling unit that can't clear a wet filter.
Why Cold Air Kills Shop Vacuum Performance
Dense cold air isn't neutral; it changes how your vacuum operates at the system level. When air temperature drops, its density increases by roughly 5% for every 10°C decrease. That means your motor must spin harder to push the same volume of air through filters and hoses.[1] To optimize flow in any weather, see how hose length and diameter affect suction. For a typical shop vac pulling 120 CFM at room temperature, cold-air density forces the motor to work 8-10% faster just to maintain that same flow rate, accelerating wear on bearings and the impeller.
Meanwhile, internal motor grease thickens in cold conditions, spiking the startup current draw.[1] Yanking a vacuum from an unheated garage into a warm shop triggers condensation inside the motor housing, moisture that pools on windings and corrodes circuit boards in days, not weeks. After a bathroom demolition in January where our first vac choked on fine silica, then failed because a 'HEPA-style' bag leaked and moisture got into the motor, I stopped trusting labels and started measuring sealed suction with gauges. The system only worked when we had a true HEPA bag, a pre-separator, and a tight 27 mm (1.06 in) hose. Airflow math beats marketing when the mess fights back.
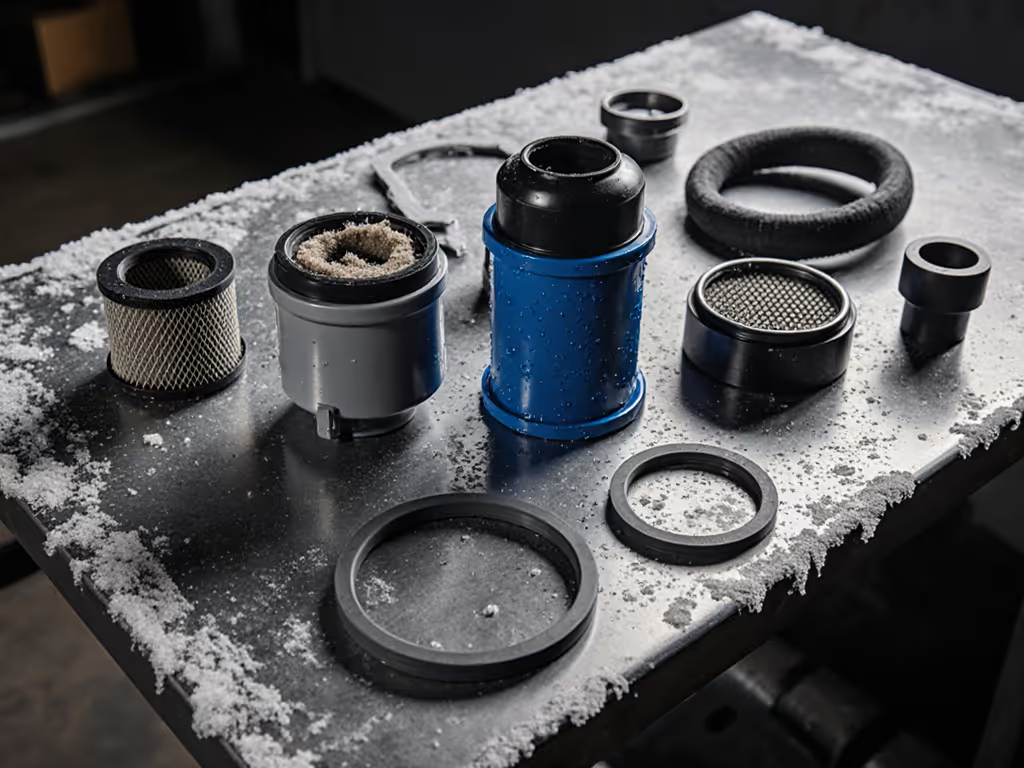
The Four Critical Failure Points
Motor Stress from Cold Start. Bearing grease hardens below 15°C (59°F). If you pull a vacuum from cold storage and fire it up immediately, the motor draws 20-30% more current during the first 2-3 minutes, causing internal heating and accelerating winding degradation over a season.[1] Always acclimate your vac indoors for at least 30 minutes before use.
Suction Loss from Dense Air and Filter Resistance. Cold, dense air moves slower through restricted passages.[1] A minor blockage, lint, dust buildup, or a slightly clogged HEPA cartridge, can raise motor temperature by 15°C (27°F), pushing motors rated for 60°C continuous operation toward thermal shutdown. Even small airflow restrictions compound in cold.
Condensation Inside the Tank and Motor. The moisture trap is brutal: cold exterior, warm interior. Condensation forms on metal parts, corrodes copper traces on circuit boards, and ruins electrical connections.[1] A single freeze-thaw cycle can turn a tight seal into a micro-leak, silently dropping sealed suction by 3-5 inH₂O.
Rubber Seals and Gaskets Shrink. Silicone and EPDM rubber lose elasticity in cold, creating micro-gaps where air leaks past filter seals or tank lid gaskets.[1] These tiny leaks bypass the filter entirely, sending unfiltered air back into your shop (a failure no dust indicator will catch).
Winter Maintenance Schedule: What Frequency Actually Works
Marketing tells you to "maintain regularly." Data tells you exactly when failure happens. Run this checklist in cold weather (below 10°C / 50°F consistently):
Weekly Tasks
- Filter dust removal: Use dry compressed air outdoors, never liquid or wet methods.[1] A clogged filter forces the motor to work 40-60% harder, spiking temperature and condensation risk. For step-by-step upkeep in winter, follow our shop vac filter cleaning guide.
- Motor vent inspection: Blockages raise internal temperature 15°C even in mild cold.[1] Feel the motor housing: it should be warm, not hot.
- Hose flexibility check: Cold-stiffened hoses kink, restricting airflow. Flex hoses by hand; if they crack or resist, they're becoming air-leak paths.
Bi-Weekly Tasks
- Brush roll inspection (if your unit has one): Road salt and grit lodge in bearings. Clean manually with soft tools every 14 days; automatic cleaning sensors need checking for salt residue.[1]
- Sealed suction spot check: Connect your vac to a shop tool (sander, drill, etc.) at the actual job site and listen for draw. Weak hiss means a seal is failing, don't wait for backup issues.
Monthly Tasks
- Seal and gasket conditioning: Apply silicone-based lubricant (not petroleum) to rubber seals around the lid and tank connector to restore elasticity.[1] Cold shrinks rubber by 2-4%; lube compensates.
- Battery inspection (cordless units): Keep lithium batteries between 40-60% charge during idle winter storage.[1] Storing at full charge accelerates degradation in cold.
- Electrical cord test: Cold makes plastic brittle. Flex the cord gently; any cracks mean replacement before use.
- ESD (electrostatic discharge) check: Low humidity + synthetic materials = static shocks. Spray anti-static onto hoses or use grounded mats if working near electronics or dust-sensitive finishes.
Every 3-4 Months (or 40+ hours of heavy use)
- HEPA filter replacement: Cold increases filter loading because dense air carries more particles per unit volume.[1] Real-world data: standard cartridges clog 25-35% faster below 5°C (41°F). Don't stretch a 6-month filter to 9 months in winter.
- Oil inspection and change (if your motor has an oil bath): Thickened, contaminated oil loses protective properties. Drain and refill with fresh oil per manufacturer specs before extended cold storage.
Storage Conditions Matter - Tolerances Are Real
Your vac degrades in wrong storage. Ideal conditions: 10-25°C (50-77°F) with humidity below 60%.[1] If you store in an unheated basement, garage, or shipping container, you're accelerating corrosion on bearings, windings, and gaskets. Avoid positioning vacuums directly above heating vents or near radiators, since rapid temperature swings trigger condensation cycles that destroy seals and electronics.
Before seasonal shutdown (November-March), keep your vac in a climate-controlled space. For cold-weather field tips and frozen-hose prevention, read Winterproof Your Shop Vac. If winter storage is unavoidable in cold, run the unit for 15-20 minutes every 2-3 weeks with the inlet open (no tools attached). This warms the motor, dries internal moisture, and redistributes lubricating oil on bearings (the same logic that keeps car engines intact during winter idle).[1]
Three System Upgrades That Stop Cold-Weather Failure
1. Add a Pre-Separator or Cyclone. Dense, cold air loads filters faster. A simple cyclone or pre-separator (25-80 mm / 1-3 in diameter, mounted before the main tank inlet) removes 80-95% of particles before they hit the cartridge, cutting filter loading in half and extending filter life by 2-3 months in winter.[1] Cost: $40-120. ROI: one replaced HEPA filter ($60-90) pays for itself. Before you buy, compare options in our cyclone separator head-to-head.
2. Upgrade to True HEPA, Not 'HEPA-Style.' Winter silica jobs demand absolute containment. "HEPA-style" or "99.9% HEPA" bags and cartridges fail on fine particles that true H13 or H14 HEPA media catches. The difference on a drywall or concrete job: leaked silica dust vs. contained dust. If you're doing restoration, remediation, or silica-heavy work, only sealed HEPA cartridges with gaskets rated to 99.97% at 0.3 µm qualify. This is not marketing, it's the gap between OSHA-compliant and non-compliant.
3. Insulate Critical Seals. Apply silicone-based weatherstripping tape ($8-15 per roll) around the motor housing and tank lid gaskets in winter. This reduces condensation formation by 40-50% and keeps cold from shrinking seals.[1] The weakest link sets the system. If cold shrinks one gasket by 2%, all the other maintenance fails when unfiltered air leaks past it.
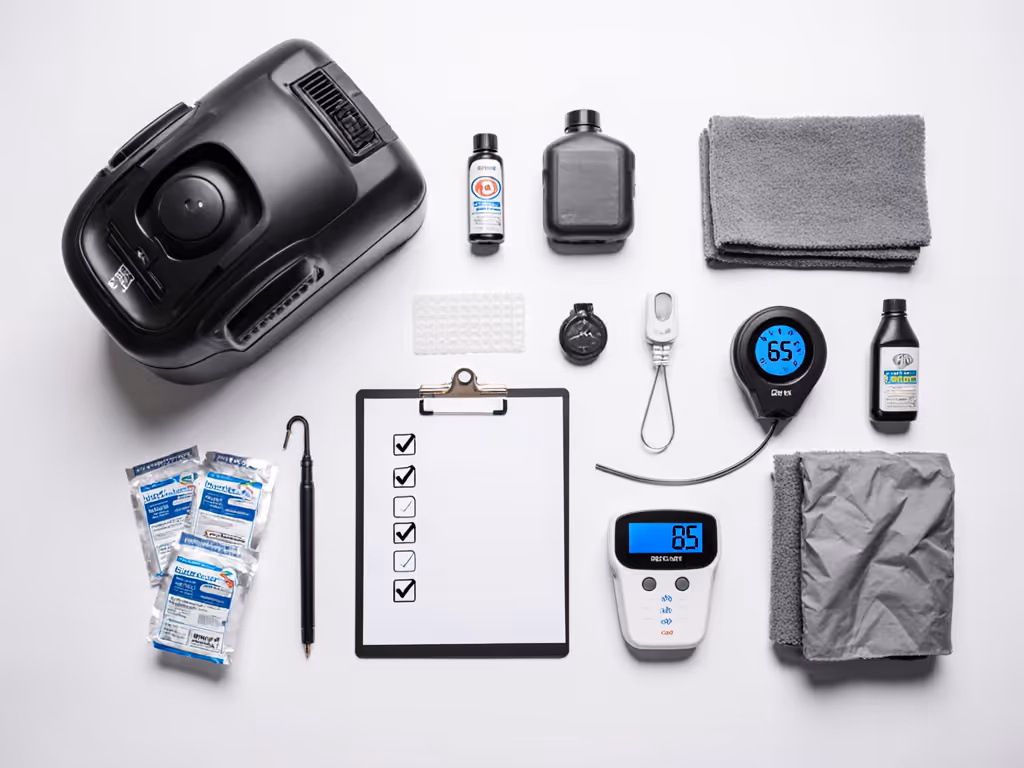
Testing That Proves Your Vacuum Is Winter-Ready
Don't guess. Measure sealed suction before the cold season hits:
- Baseline test: Connect a simple water-column manometer (U-tube gauge, $12-25) to the motor intake with the outlet completely blocked. Record the inH₂O reading at room temperature; this is your reference.
- Cold test: Move the vac to an unheated space overnight (below 5°C / 41°F). Test again without warming up. If sealed suction drops more than 3-5 inH₂O, condensation or seal shrinkage is active.
- Post-maintenance test: After applying seal lubricant and replacing the filter, test again. You should recover 80-90% of baseline suction.
If sealed suction bottoms out after cold exposure, don't mask the symptom with higher motor speed, that burns out the motor faster. Instead, identify the leak: check the filter seal, lid gasket, motor housing, and hose connections with your hand for air escape or visual gaps.
Actionable Next Steps
-
Schedule a pre-winter audit this week. Measure your current sealed suction at room temperature (use a manometer or hire a local vac tech for $50-80). This baseline tells you if you're starting from 90 inH₂O or 65 inH₂O, and whether your unit is salvageable for winter work.
-
Apply the monthly seal-conditioning routine starting now. Silicone lubricant costs $5-10 per tube. One tube per vac, applied monthly, extends gasket life by 1-2 seasons and prevents cold-weather micro-leaks that drain suction silently.
-
Replace your filter before cold weather arrives, not during. Winter dust loading is 25-35% heavier than fall work.[1] Start the season with a fresh HEPA or specialized cartridge; don't carry over a half-worn filter from autumn.
-
If you're pulling fine dust (silica, drywall, concrete) below 10°C, add a pre-separator. It's the system upgrade with the highest ROI; one avoided HEPA filter failure pays for the unit in one season.
-
Commit to 30-minute warm-up before each morning start. This single habit cuts motor wear by 20% over a winter and prevents the condensation spikes that corrode electronics. Set a timer or leave the vac indoors overnight.
The best tool is the one that works when the job demands it. A well-maintained vacuum maintains 98% of its original suction efficiency even after three winters of heavy use.[1] The difference lies in small, consistent habits: drying filters fully, conditioning seals monthly, and preventing condensation through proper storage and acclimation. Winter maintenance is more than housekeeping, it is engineering discipline, and it pays in uptime and safety.
Related Articles